
AD| This post is part of a paid collaboration.
I haven’t tried cross stitch for absolutely years, I used to really enjoy it when I was a kid and I have tried it a bit as an adult. Having to stay home pretty much all the time at the moment, has definitely made me feel like being a bit more creative. It seemed like a really good time to get back to some crafts that I’ve not done for a while and it’s been fun making some cute things for the kid’s rooms.

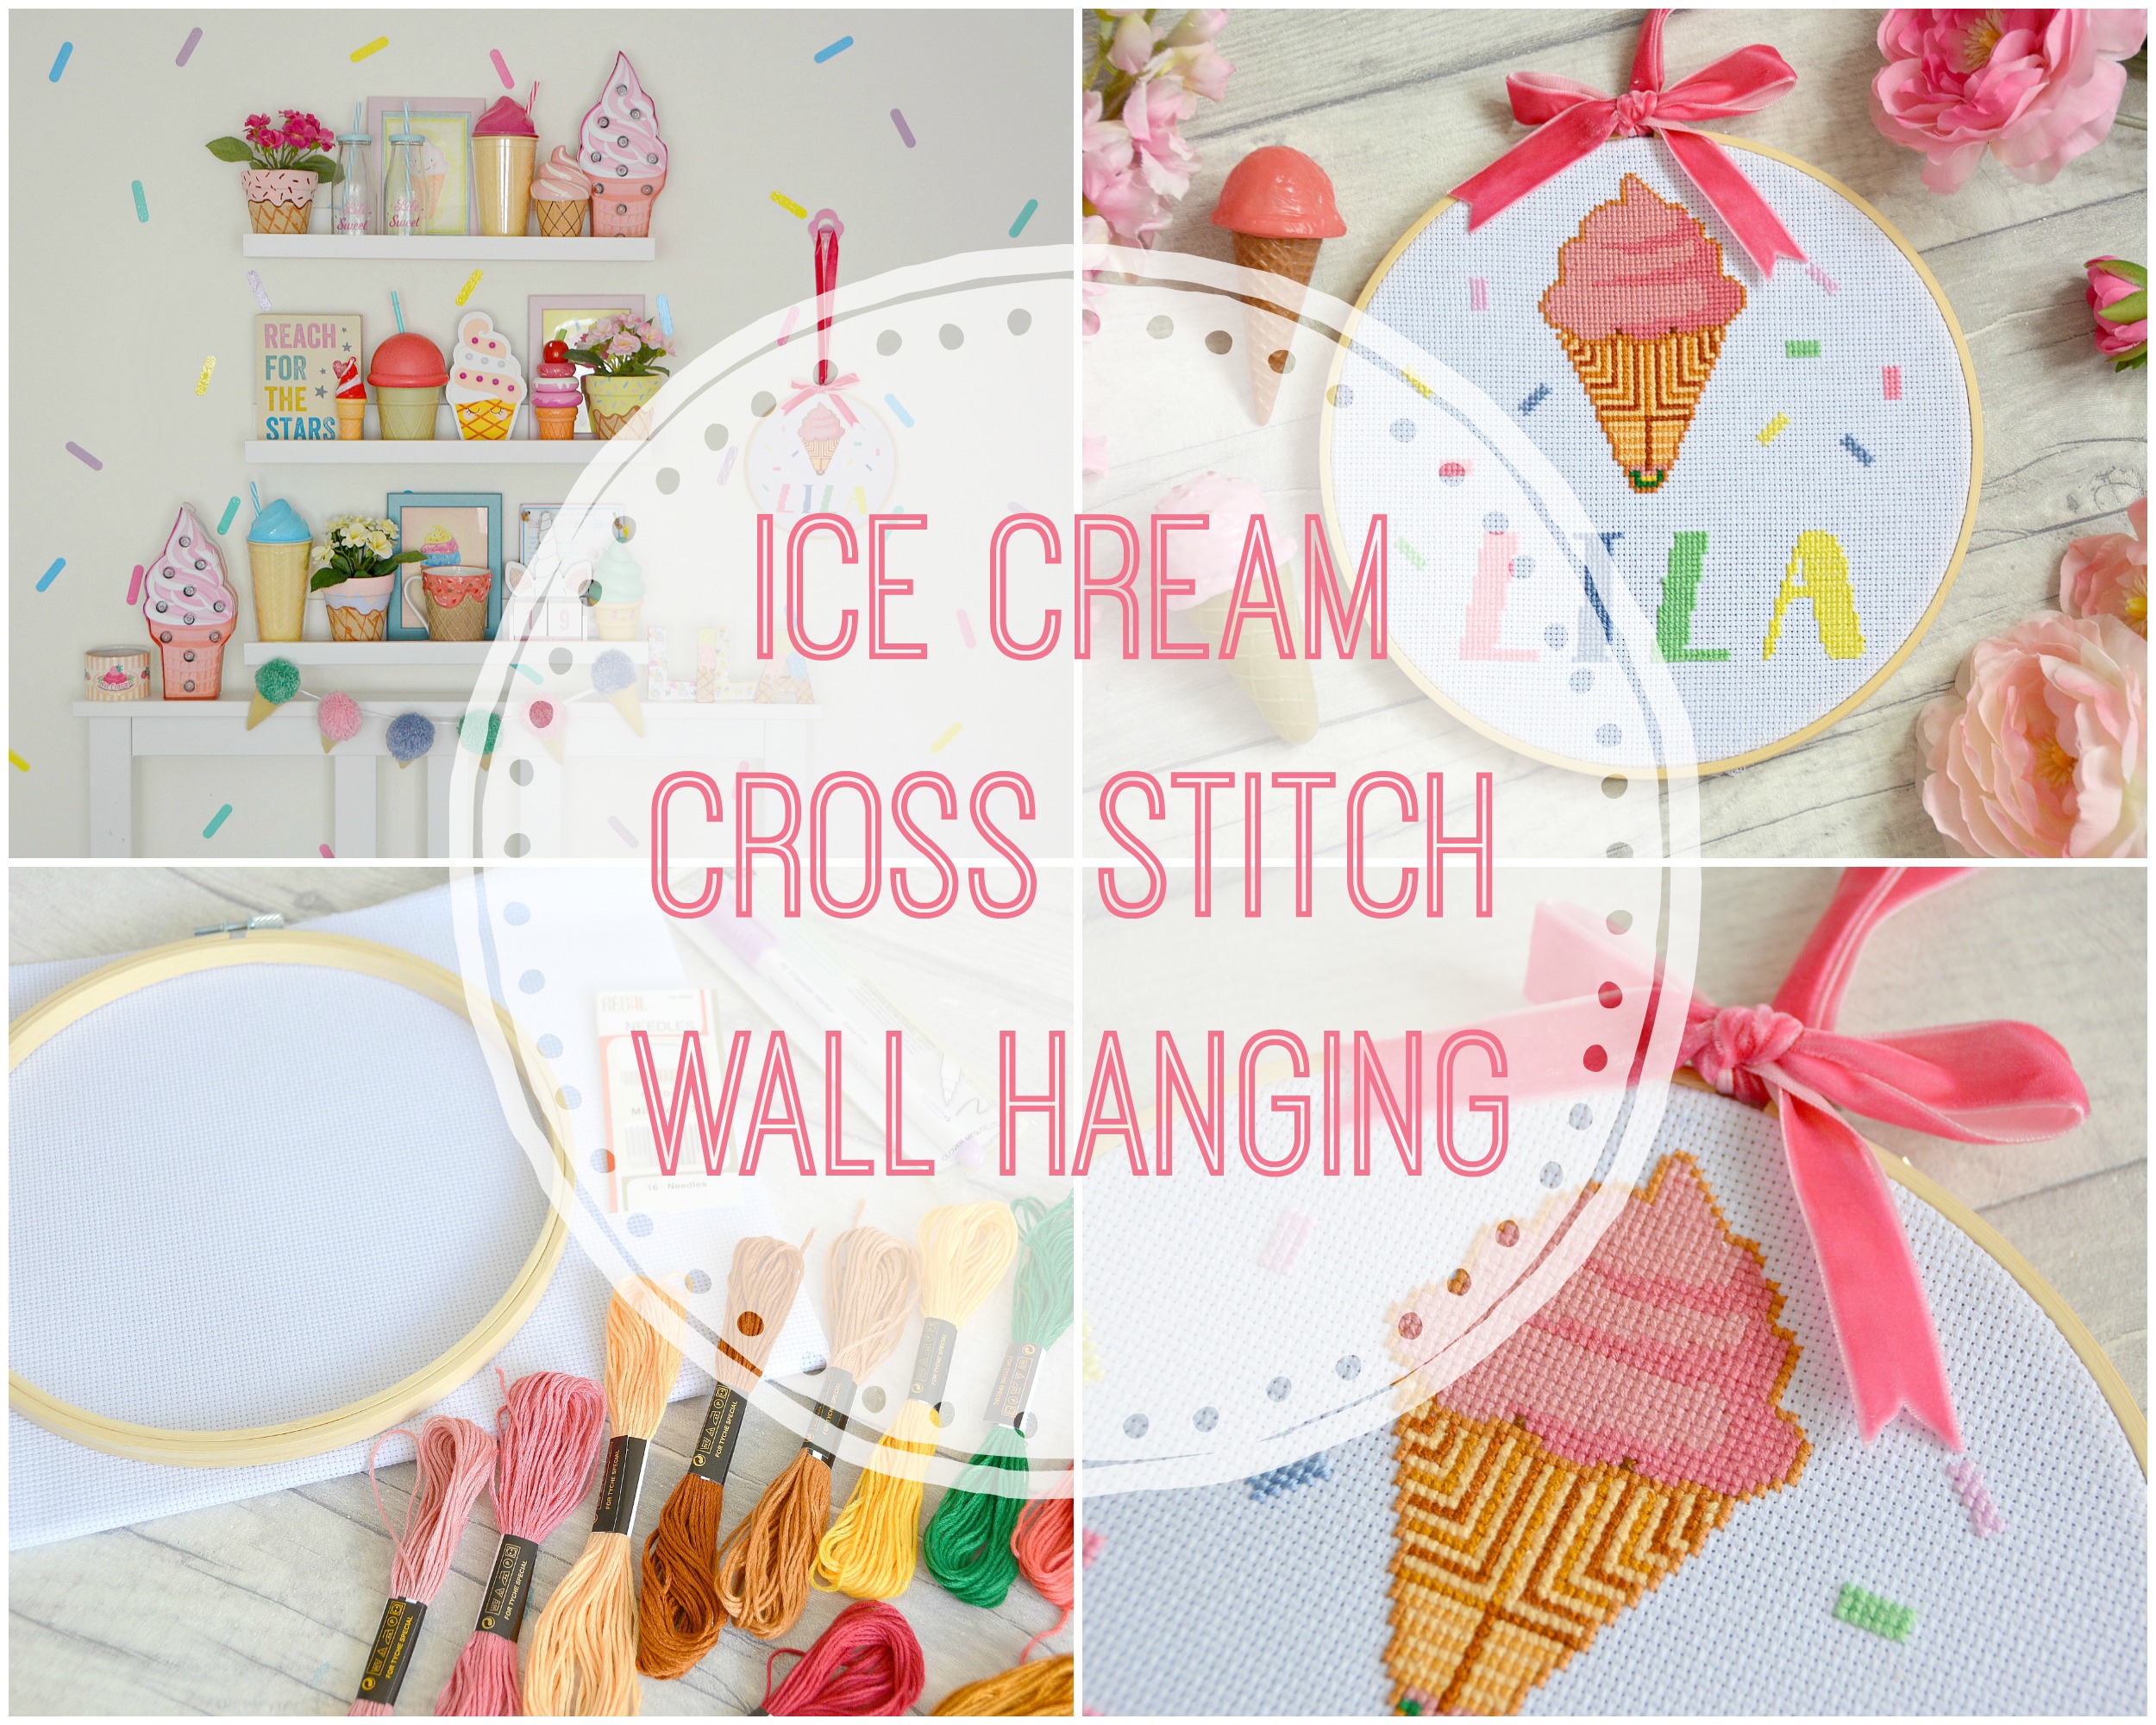
And when it comes to Lila’s room, it has to stay on theme! Another day, another ice cream craft! So far I’ve made ice cream plant pots, an ice cream garland, ice cream letters and a whole ice cream bedroom! So when I was asked to write a post about embroidery, I knew it had to be ice cream themed!
Design Bundles are an amazing online resource for all things creative. If you need design elements for a craft project they are a great place to look. They asked me to use one of their embroidery designs to create a project. I went straight for their ice cream cross stitch pattern. Their patterns range from quick easy projects to more advanced time-consuming options. Because I have limited time I opted for a reasonably simple design.
Once I had chosen it was as simple as purchasing the pattern I liked and them printing off the instant download. I love that you can go from idea to making a start on your project within minutes. It’s definitely easier than going out to buy an embroidery kit. I also love that I now have the pattern saved on my laptop and phone in case I ever decide to make it again.
You Will Need

Embroidery pattern, embroidery threads, needles and needle threader, size 14 Aida fabric, an embroidery hoop, scissors, disappearing fabric pen, ribbon (for hanging). I had some of the things I needed already and ordered a couple of bits on Amazon.
Printing and Preparing

Once I had printed off my embroidery design, it was time to make a start. Firstly I secured my embroidery fabric into the hoop. I then used my disappearing pen to mark out the general outline of the ice cream. The printed pattern was really easy to use and made this part very easy.


The pattern also shows you the exact colours of thread you need to create the project. I used these as a guide and tried to match colours I already had as closely as possible. It was then time to thread my needle and make a start!

Stitching the ice cream outline first, made it much easier to follow the pattern. I also marked off each stitch on the pattern as I went, so I wouldn’t lose my place. It takes a little longer this way, but helps to avoid mistakes and having to go back and unstitch areas.
Stitching the Ice Cream

Once the outline was complete I started to fill in the rest of the ice cream cross stitch colour by colour, paying close attention to the pattern as I went. My top tip for stitching would be to put on something to listen to, I usually opt for an audiobook. That way you can just relax and be mindful while you make something lovely. It’s very good for you!

The pattern was really easy to follow and it came together really nicely. Once I had finished the ice cream and started on the cone, I decided to change my choice of colours a bit. The original pattern is a bit more colourful and vibrant, but I decided that going for different shades of brown, would work better with the colour scheme in Lila’s room, so I switched it up a bit. That’s the great thing about a pattern like this, you really can make your mark on it and change it any way you like.
Adding the Letters
Once I had finished the ice cream, I felt that the design definitely needed something else. So I popped back onto the Design Bundles website and downloaded one of many alphabet cross stitch patterns. There were a lot of choices, but I chose this one as I knew I would use it again for other projects. The pattern comes with both capital and lower case joined-up letters.

I decided to add the letters in pretty pastel colours, to tie in with Lila’s room theme.
Finishing Off the Ice Cream Cross Stitch
Once the letters were finished, I still thought something was missing. It’s kinda obvious really, all ice cream theme pieces need – SPRINKLES! So I quickly sketched out a few sprinkles with the disappearing pen and stitched them in some pretty pastel colours. And voilà it was complete!
Hanging the Ice Cream Cross Stitch
I wanted to keep the cross stitch in the hoop to hang it up. I made sure it was straight and that the fabric was very taught, before tightening the ring with a screwdriver until it was really tight to keep it all in place. I then trimmed off the excess fabric.

I found this pretty velvet ribbon in my Christmas wrapping box and it was just perfect for this project. I tied a bow and left lots of ribbon at the top to hang it up. I then attached a self-adhesive ice cream hook (from Tiger, but a couple of years ago sorry!) to the wall and I was done.

Lila is delighted with the new addition to her room and I think it goes so well with everything else we’ve done in there.


I absolutely can’t wait to try more cross stitch patterns. Jess has already asked me to do something for her room, so I’ll definitely be trying something else soon.
I had so much fun doing this and taking the time to be creative was so needed! I couldn’t recommend Design Bundles enough, there is just so much choice on their site and it has filled me with ideas for more fun projects. Find everything you need on the Design Bundles website.
*This post is part of a paid collaboration with Design Bundles. All opinions and sewing skills are my own!


No Comments